How to
You can download the following How to here.
» How to download HiCrypt™ 2.0
» How to install HiCrypt™ 2.0
» How to activate HiCrypt™ 2.0
» How to start HiCrypt™ 2.0
» How to connect a network drive with HiCrypt™ 2.0
» How to encrypt a network drive with HiCrypt™ 2.0
» How to manage users of a network drive encrypted with HiCrypt™ 2.0
» How to use an online storage with HiCrypt™ 2.0
» How to use Dropbox and similar services with HiCrypt™ 2.0
How to download HiCrypt™ 2.0
Please go to our Download Area and click Download HiCrypt™ 2.0 and test our customer support for free* to register and download HiCrypt™ 2.0. Or use Download HiCrypt™ 2.0 without customer support if you just want to anonymously evaluate HiCrypt™ 2.0 without registration.
Please note:
Some Pop-up blocker prevent the download of HiCrypt™ 2.0. Please deactivate your Pop-up blocker before downloading.
How to install HiCrypt™ 2.0
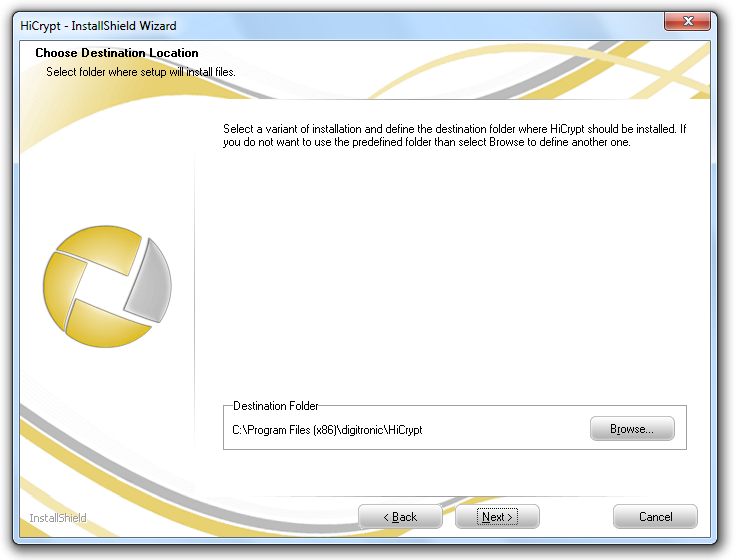
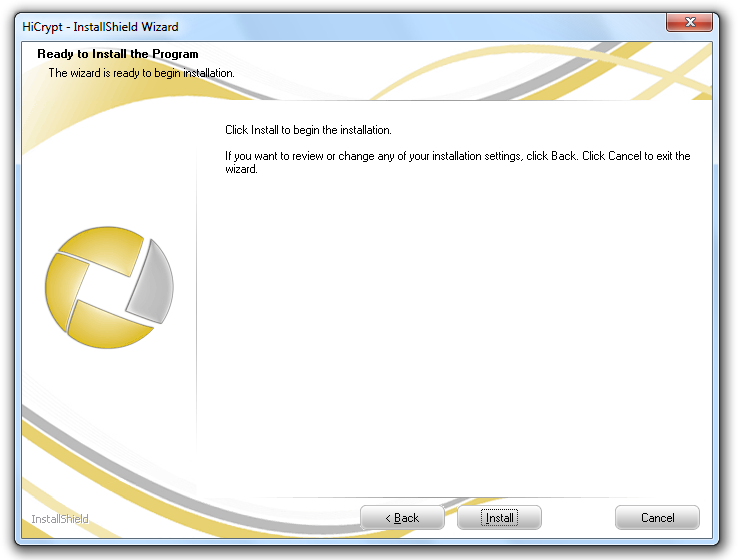
Double-click on the downloaded file and follow the instructions.
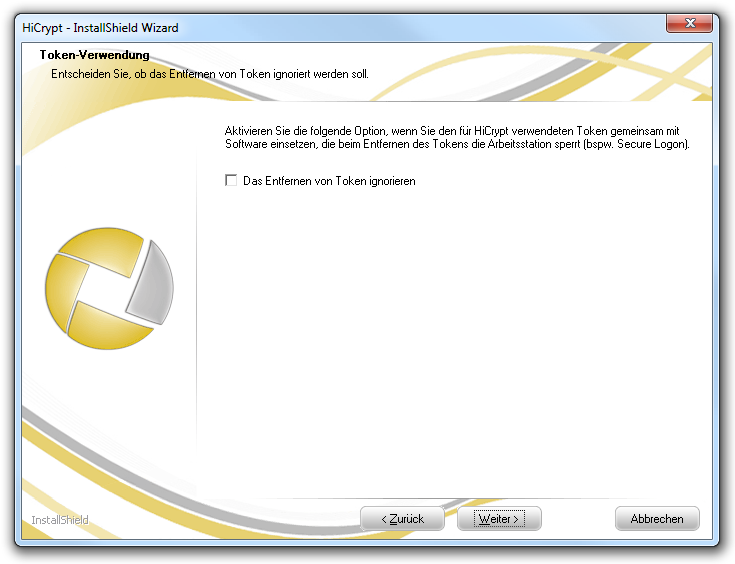
Decide whether HiCrypt™ 2.0 should ignore removing the token or not. This setting is useful if you use the token with other software for authenticating at the computer (e.g. Secure Logon). If the token is removed the computer will be locked by default. But HiCrypt™ 2.0 would also trigger the token remove event and you would be logged out from the encrypted network drive where you are currently logged in using a token. A loss of data could happen because files can be opened at logout and can not be saved any more.
Please decide whether to token remove event should be ignored by HiCrypt™ 2.0 and select “Next” to continue the installation.
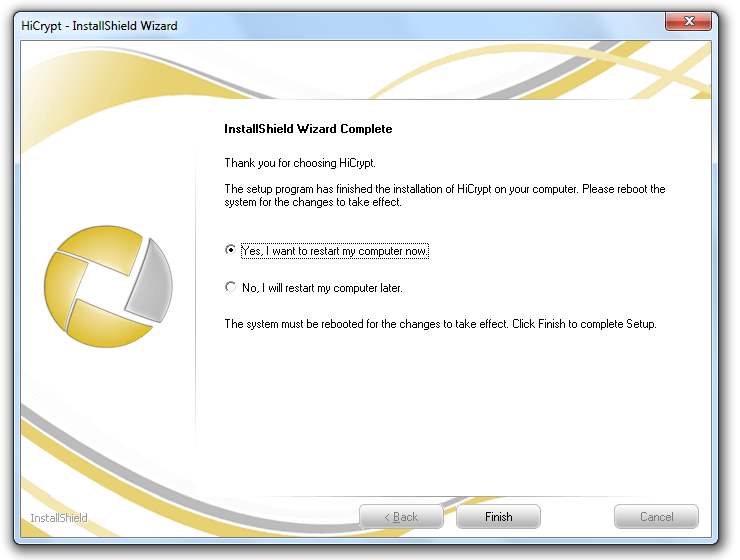
To finish the installation you need to restart the computer. You can not use HiCrypt™ 2.0 until you have rebooted your system.
How to activate HiCrypt™ 2.0
After rebooting your system to finish the installation you will be asked to activate HiCrypt™ 2.0 automatically. The activation of the software is required before you can use HiCrypt™ 2.0.
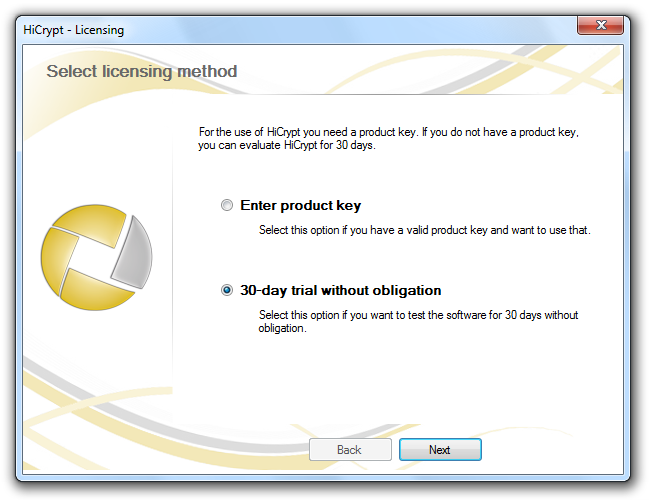
During the evaluation period you do not need any Product Key. Just activate the option “Evaluate for 30 days” and confirm by clicking “Next”.
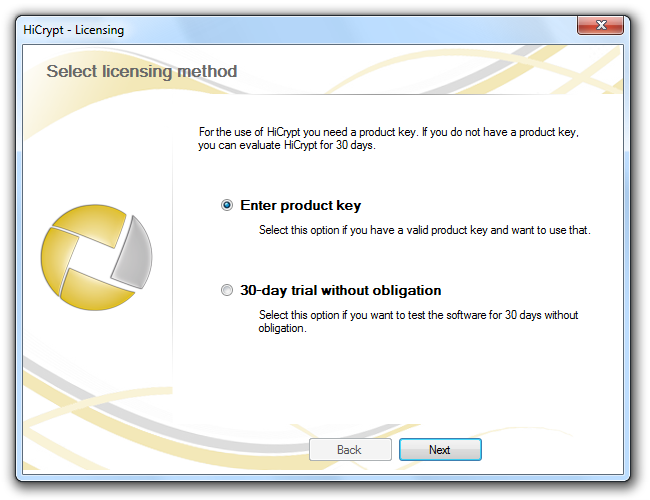
If you already have a Product Key please enter it here.
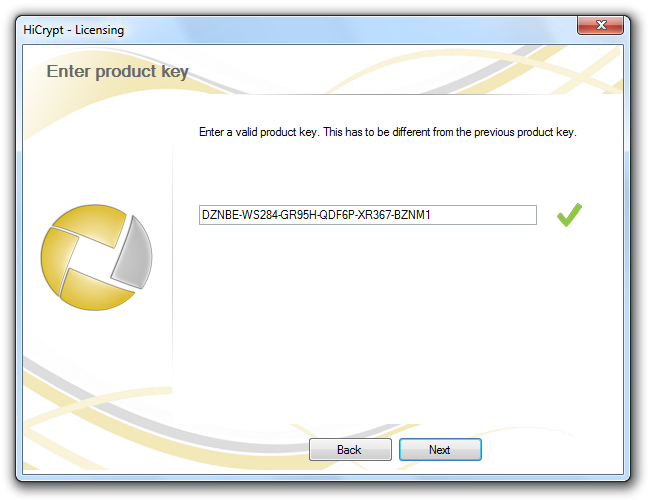
If you have entered a valid Product Key a green tick will appear at the end of the line. Please confirm by clicking “Next”.
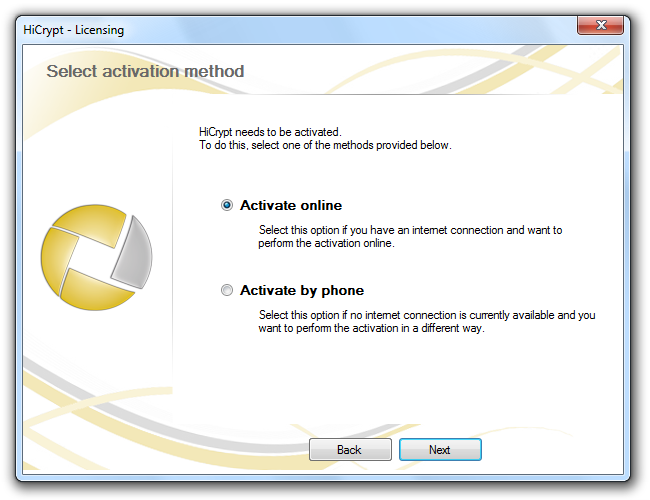
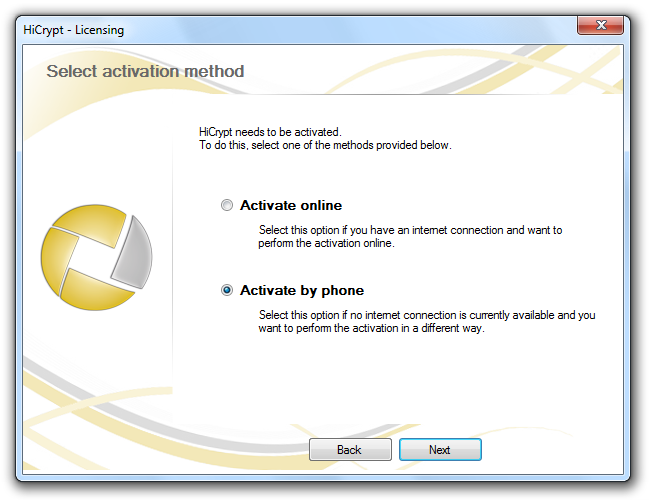
Regardless of whether you have entered a Product Key or if you have chosen to use the 30 days evaluation period you have to activate HiCrypt™ 2.0 before you can use it. You can do so online or offline, either by phone or by e-mail.
Choose the option you need and confirm by clicking “Next”.
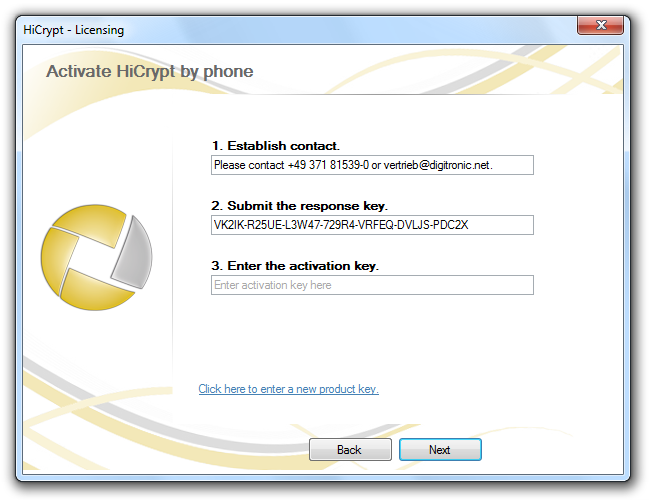
For the activation by phone you need the Response Key which is generated automatically. You can tell us the key by phone or send us an e-mail.
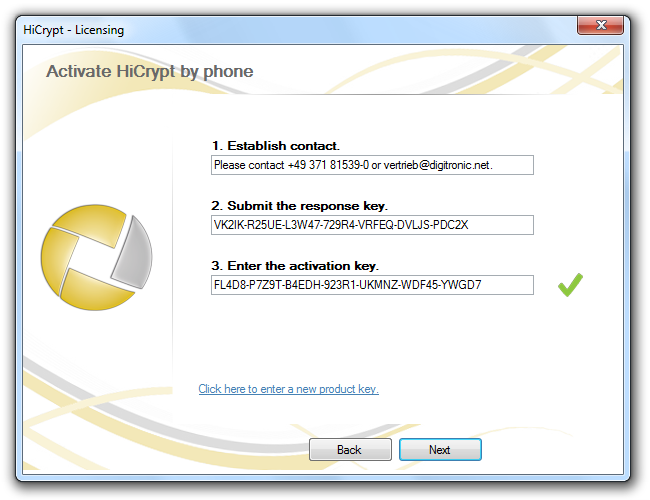
Afterwards you will receive an Activation Key which you need to insert in the dialog box.
To activate HiCrypt™ 2.0 please confirm the entered Activation Key by clicking “Next”.
Click “Finish” to close the window. HiCrypt™ 2.0 has been successfully activated and can now be used.
You can change the Product Key at any time in the program.
How to start HiCrypt™ 2.0
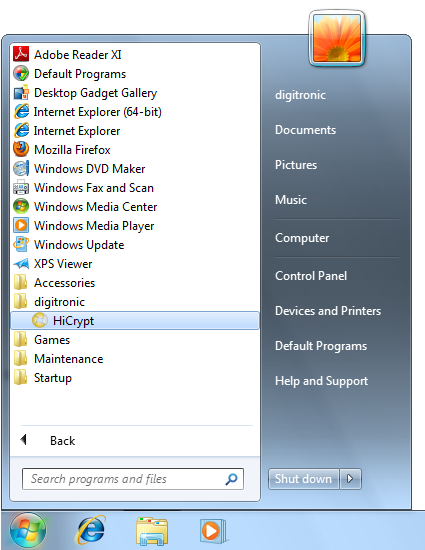
HiCrypt™ 2.0 will be started automatically with your operating system. To open HiCrypt™ 2.0 you have the following options.
Sometimes the HiCrypt™ 2.0 symbol is not shown there because it is hidden. In this case please click on the button at the left hand side of the task bar to make hidden symbols visible.
You can use “Customize…” to make the HiCrypt™ 2.0 symbol visible permanently so that you always can access it immediately.
How to connect a network drive with HiCrypt™ 2.0
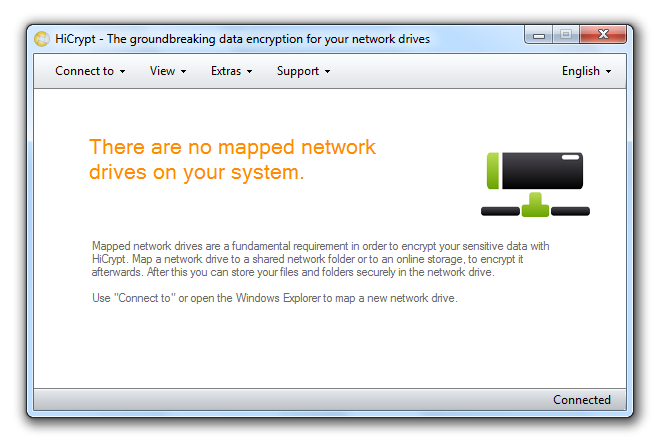
Network drives are the basic requirements to encrypt your data with HiCrypt™ 2.0.
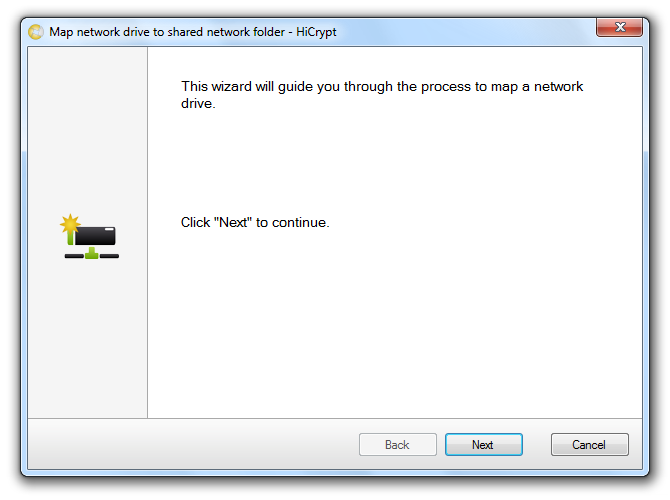
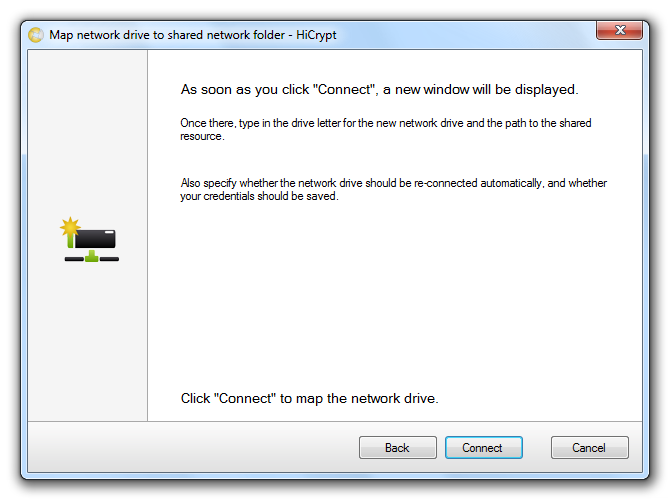
Read the information in the dialog box to set up the required settings for the new network drive in the next step and then use “Connect”.
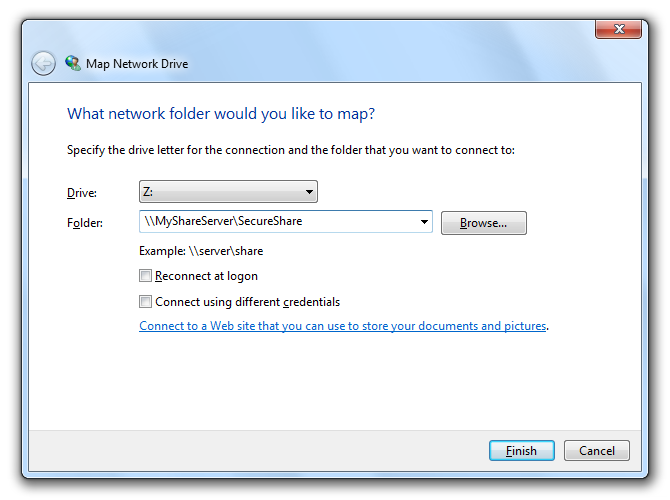
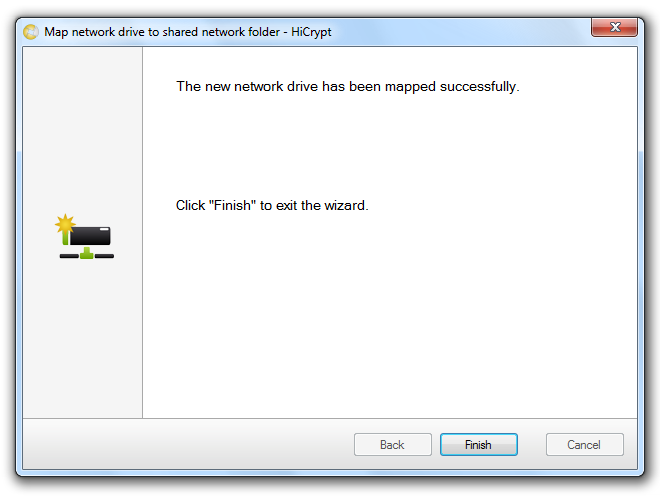
Choose the required drive letter and insert the path to the network share for the new network drive. Use the offered options to configure the connection and click “Finish” to establish the network drive connection.
How to encrypt a network drive with HiCrypt™ 2.0
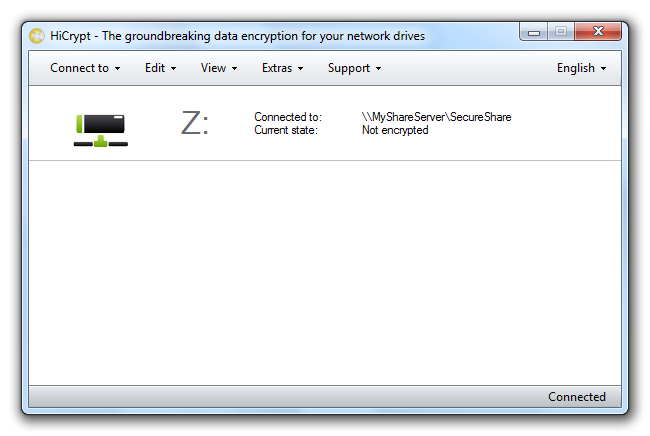
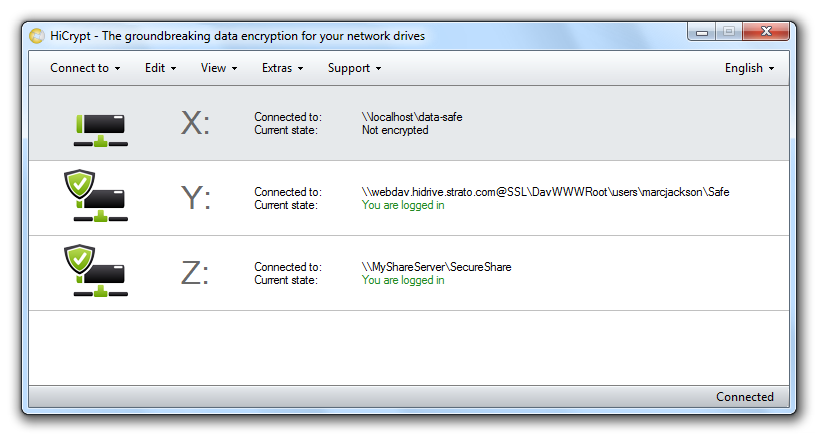
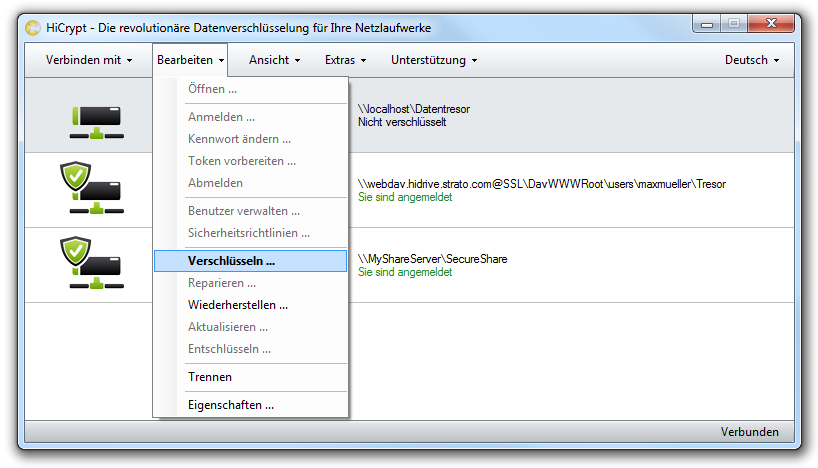
The state of the network drive is shown as “not encrypted”. The following steps explain how to encrypt a network drive.
Please note that the network drive needs to be empty. At the end you can store data on it which will then be encrypted automatically.
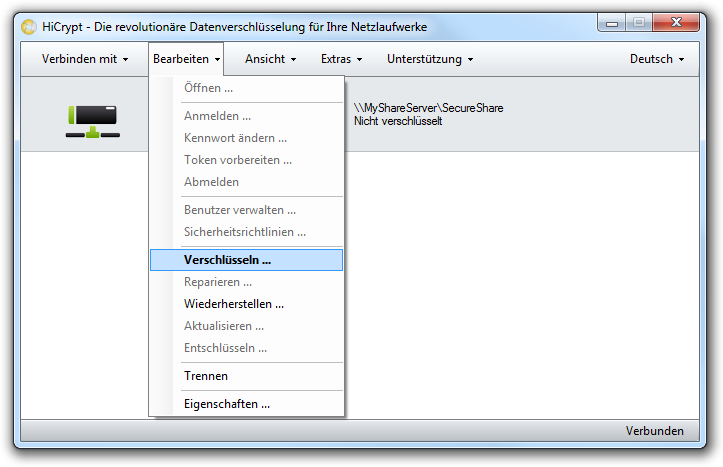
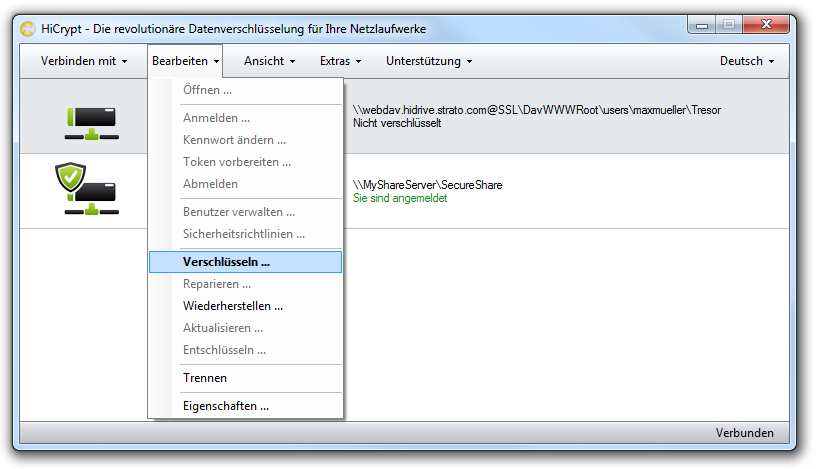
Mark the network drive and use the menu item “Edit” or right-click at the network drive and choose “Encrypt” in the context menu to encrypt the network drive.
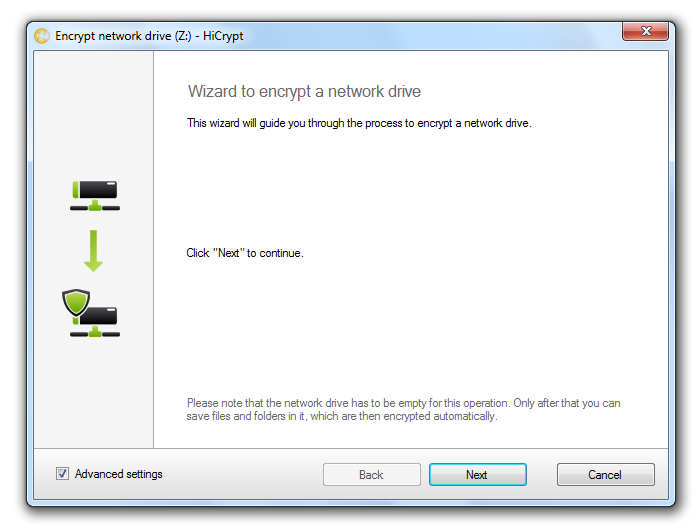
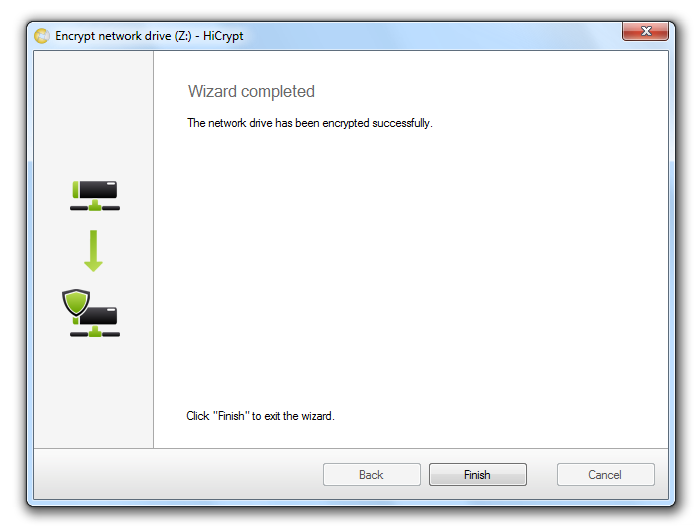
Start the assistant who will guide you through the process of encrypting the network drive with “Next”.
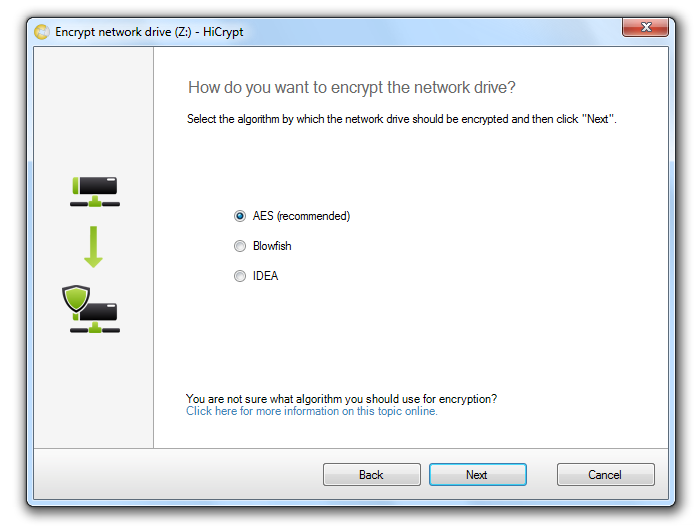
Check the “Advanced settings” option to select the used encryption algorithm in the next step. Otherwise this step will be skipped and AES will be used.
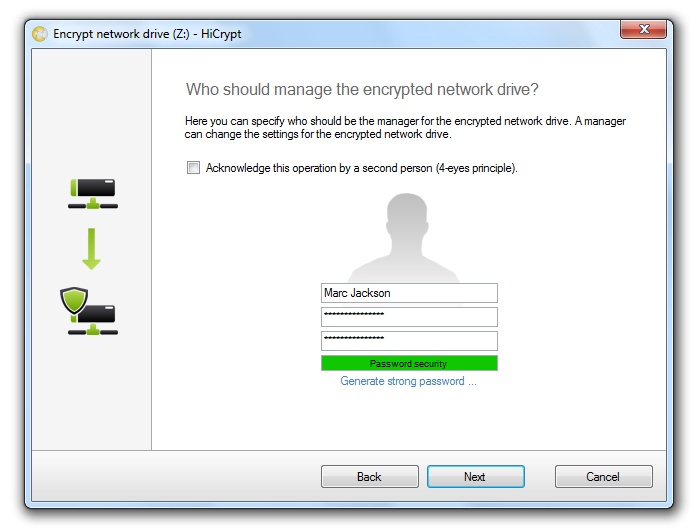
In the next step please enter username and password for the encrypted network drive. You will need this information to access the encrypted network drive.
The user you just created will be a manager of this network drive and will automatically get advanced access rights which will enable him to add additional users to the network drive or to decrypt the drive.
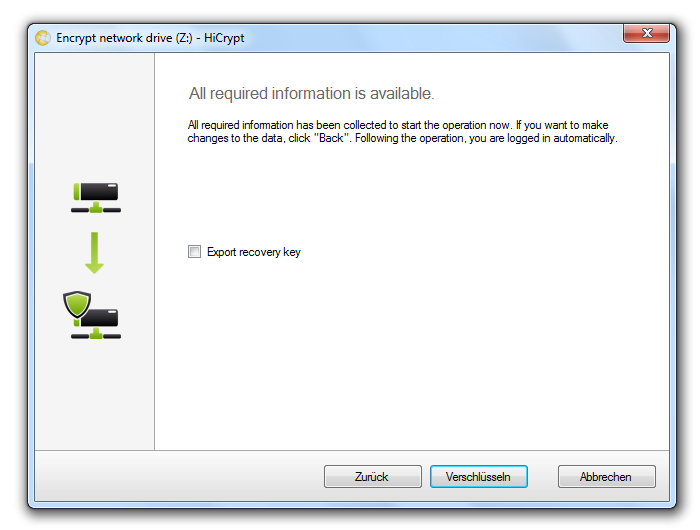
Confirm by clicking “Next”.
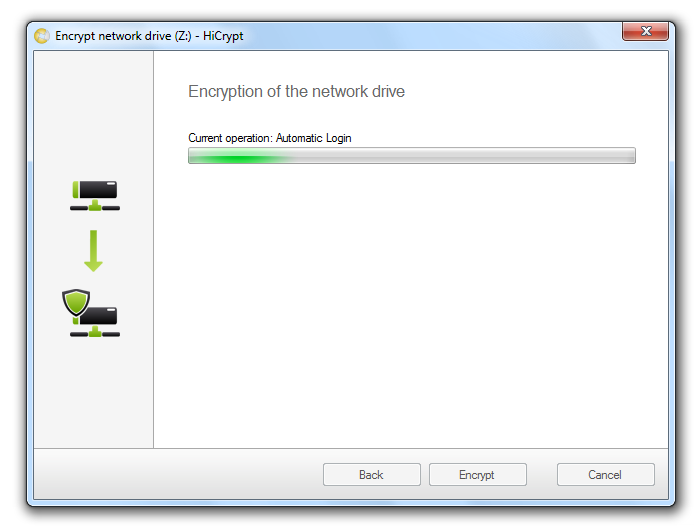
For each additional network drive you want to be encrypted you will have to repeat this procedure.
If you connect to an encrypted network drive or if the encrypted network drive is already mapped to the computer after the user logged on, HiCrypt™ 2.0 will automatically ask for the username and password. Your logon data can be stored so that you can access the encrypted network drive automatically.
How to manage users of an encrypted network drive with HiCrypt™ 2.0
If you need additional users to access the encrypted network drive you can add them and configure their permissions.
Mark the encrypted network drive whose users should be managed and choose the option “Manage users …” from the menu “Edit”.
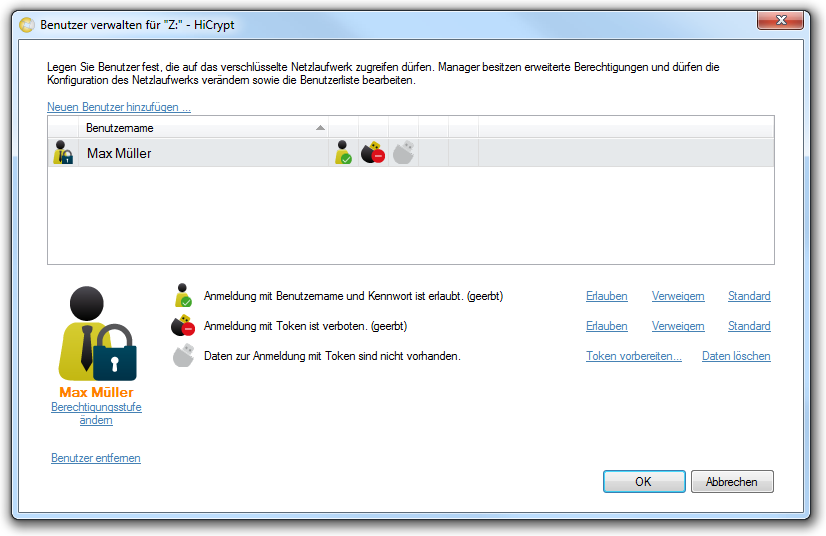
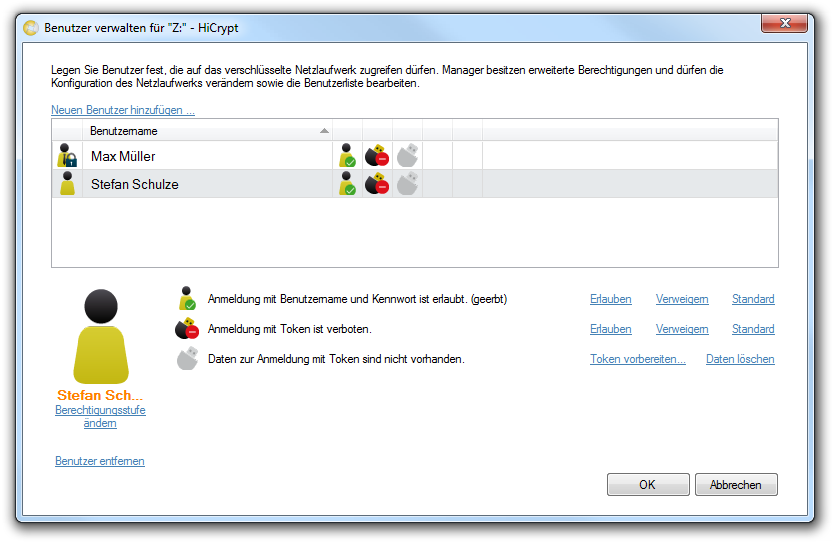
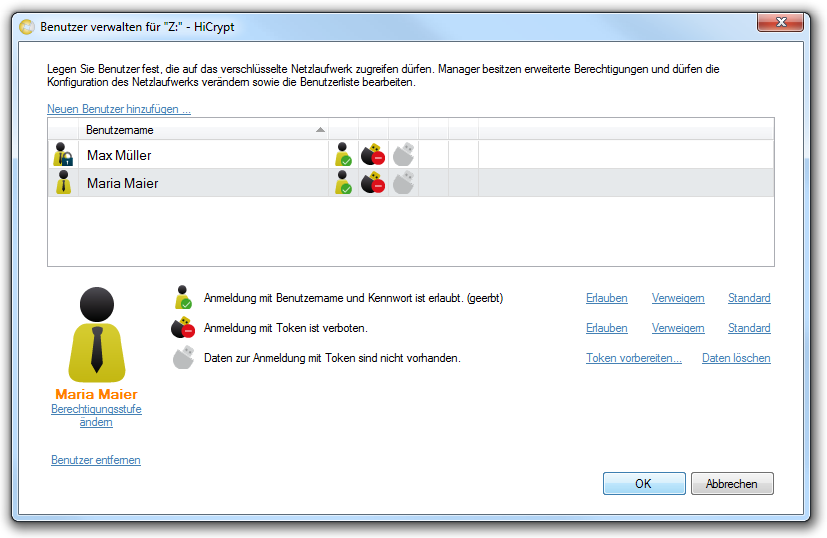
In the “Manage users” dialog you can add new user, delete existing user or edit their access rights. Please note that the data of the user who has opened the “Manage users” dialog are protected and can not be changed during this process.
If you click on “Add new user …” the following dialog box will be opened.
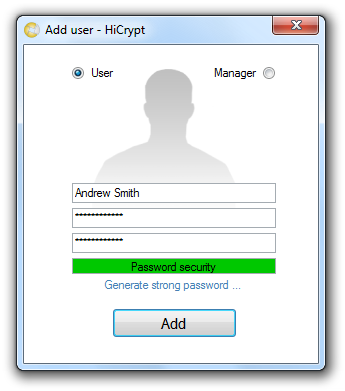
In this dialog box you have to enter the username and password of the new user you want to create. The password needs to be confirmed by typing it twice.
You close the dialog box by clicking “Add”.
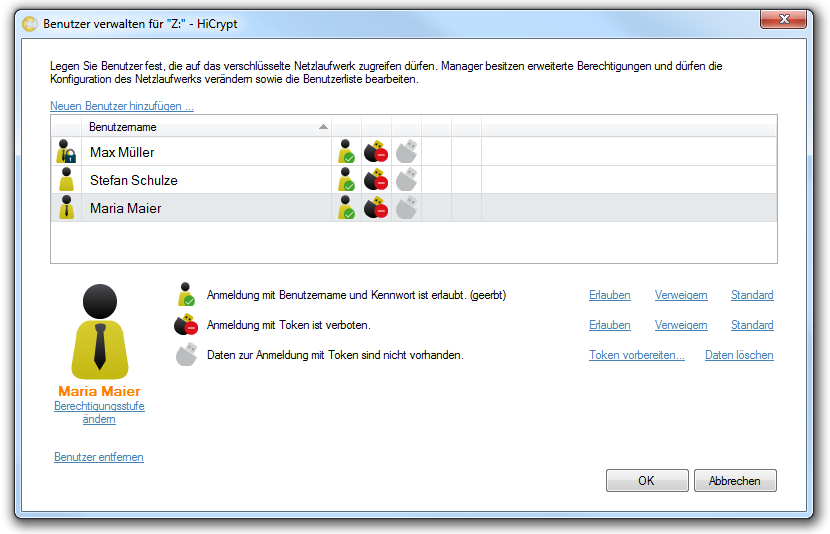
The new user has been added to the user list with the defined properties.
Now the new user appears in the user list with the permission level “user”. To create a user with the permission “manager” you start again with adding a new user.
In the upper part of the dialog box the permission level for a new user is set to “User” by default. The user only can access the data on an encrypted network drive but it is not possible for him to manage users or to decrypt data.
If you wish to give administrative rights to a user you have to choose the permission level “Manager”.
Please confirm by clicking “Add” and the dialog box will be closed.
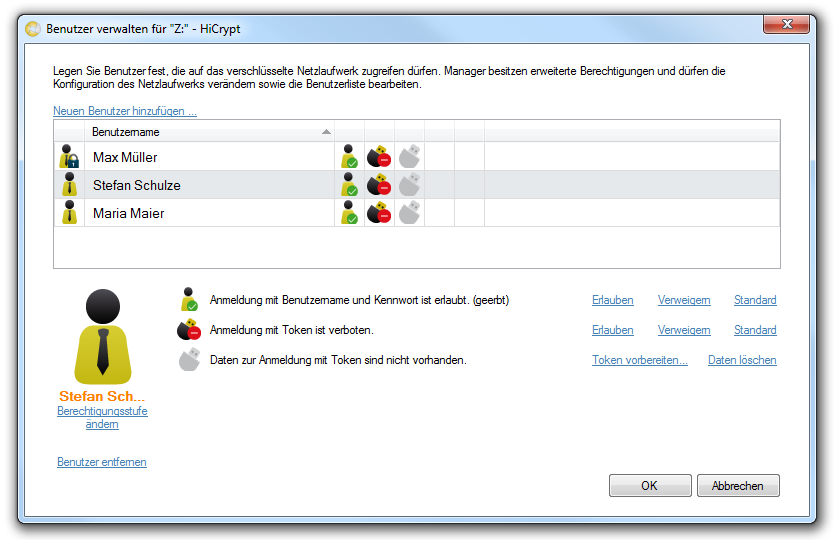
To change the permission level of a user please mark the username and choose the option “Change permission level”. The user list will be updated immediately.
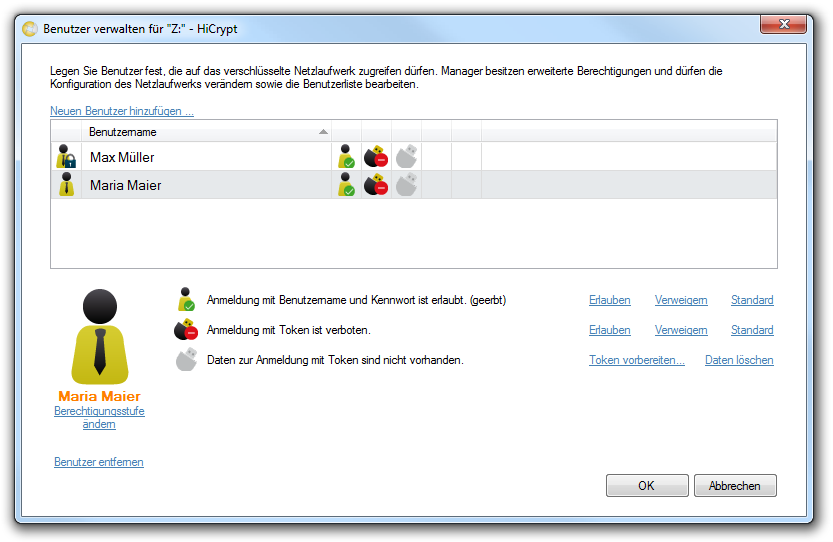
To delete a marked user please use the option “Delete user”.
All changes in this dialog box will only be applied when you confirm them by clicking “Close”.
Newly created users can only be used as soon as the changes have been confirmed.
If you have changed the permission level of a user these changes are only submitted after the user logs on the next time to the network drive. If a user is deleted he finally looses all access rights only when logging off.
How to use an online storage with HiCrypt™ 2.0
Online storages can be encrypted with HiCrypt™ 2.0. Only a few additional steps are required to prepare your online storage for using HiCrypt™ 2.0.
In order to explain how to use HiCrypt™ 2.0 with online storages we will use Strato´s HiDrive. The explained steps will be similar for all online storages. Aim of this preparation is to connect a network drive with an online storage which will finally be encrypted with HiCrypt™ 2.0.
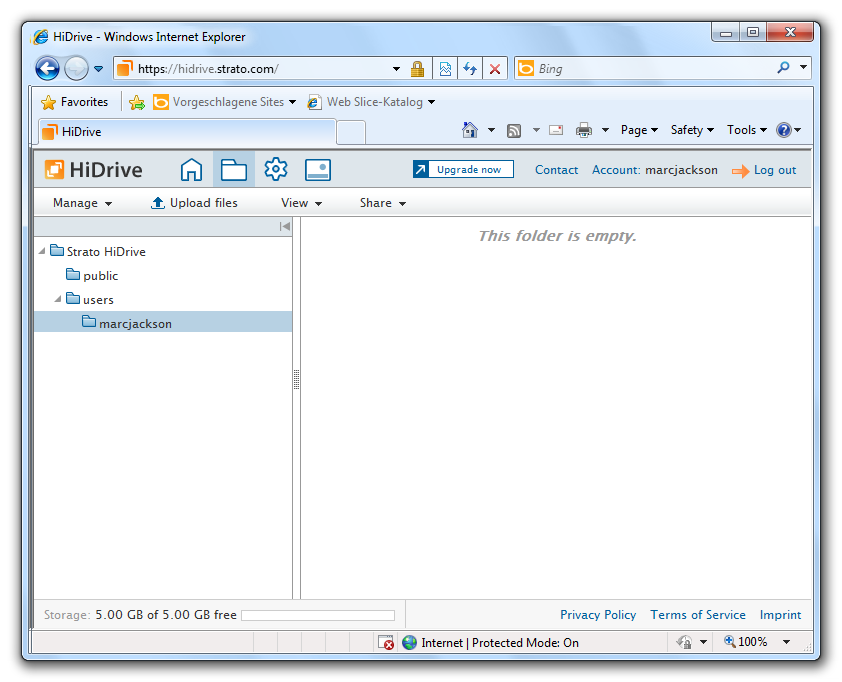
The image shows the online view of the online storage. Here you can store files and folders similar to your own hard disk.
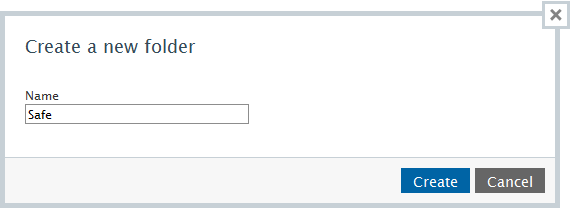
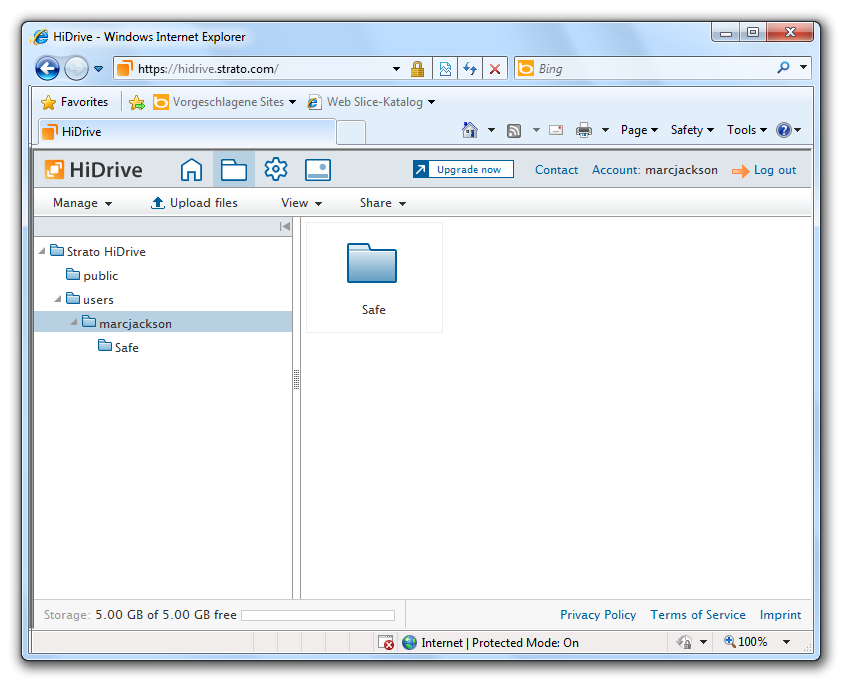
A lot of online storages already contain files by default. But the network drive has to be empty in order to encrypt it with HiCrypt™ 2.0. So you can not encrypt the complete online storage. The solution is to create a subfolder and to only encrypt the content of the subfolder.
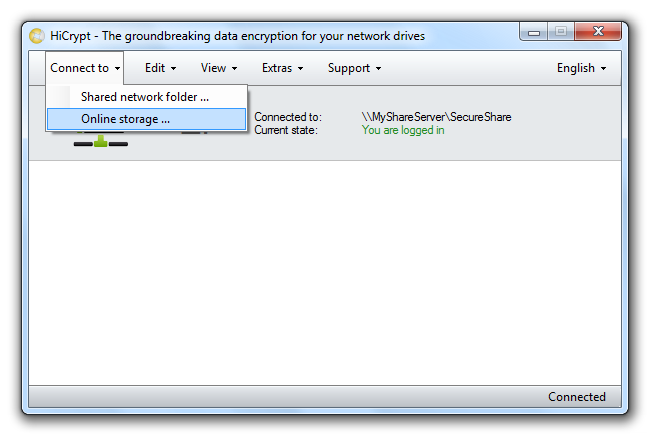
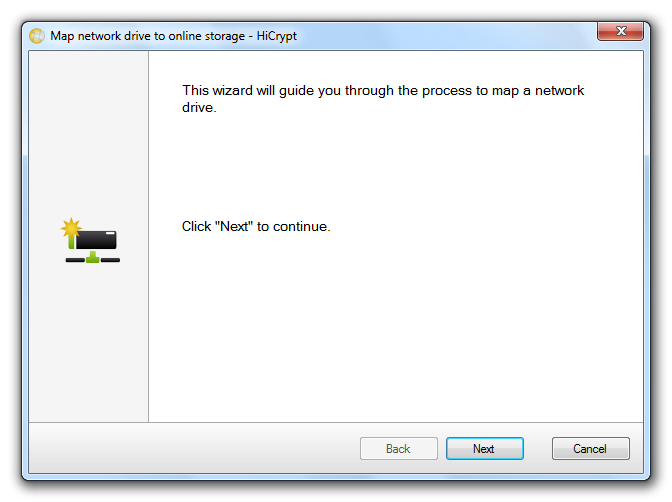
For that HiCrypt™ 2.0 offers a special assistant for connecting to online storages. You can start the assistant by clicking “Connect to” and “Online storage …” in the menu.
In the next step a list of well-known online storages is displayed. If your online storage provider is not listed please select “Other online storage”.
In our example of Strato´s HiDrive you have to insert your username.
By clicking “Next” you will get to the next dialog.
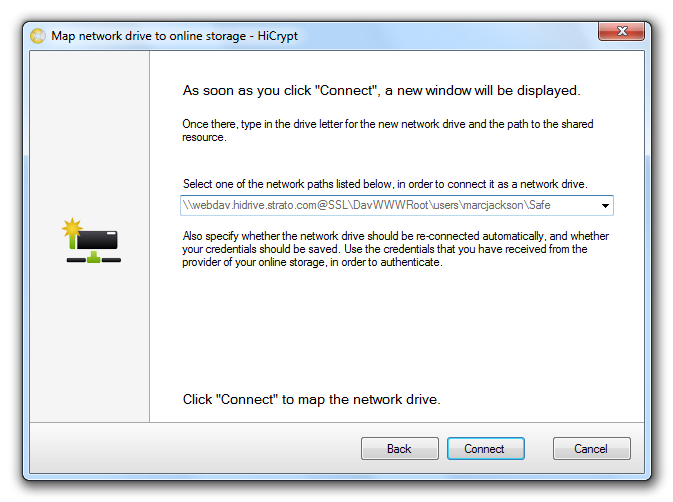
According to your online storage provider selection and the username you have inserted a path is generated which will be used to connect a network drive to your online storage.
If you selected “Other online storage” in the previous dialog then no path is generated. You will have to enter it manually in the next step.
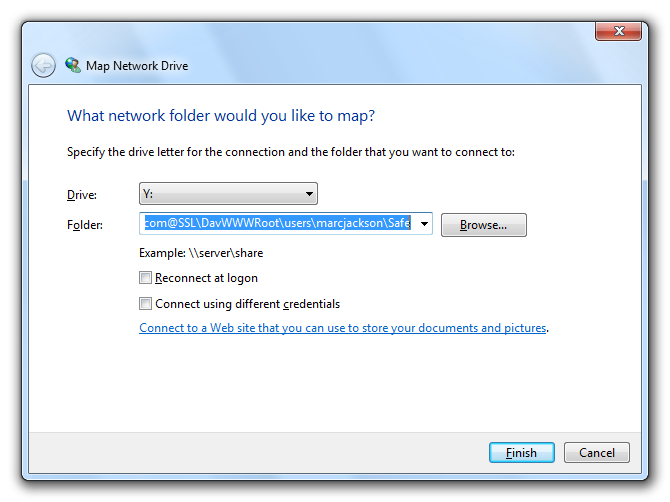
By clicking “Connect” the Windows default dialog box to map a network drive appears.
The path to the online storage has already been generated automatically so that you only need to confirm by clicking “Finish” to connect the network drive.
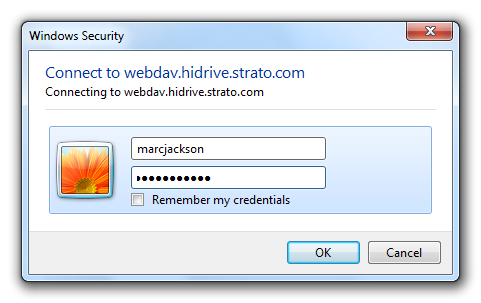
To connect to the online storage you have to log on to your provider. The logon credentials are the same you are using for logging in with your browser.
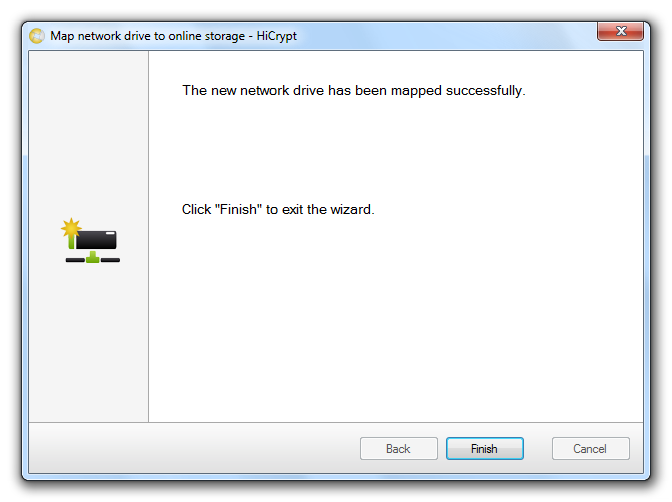
After the network drive has been connected successfully you can close the assistant for connecting the network drive to an online storage by clicking “Finish”.
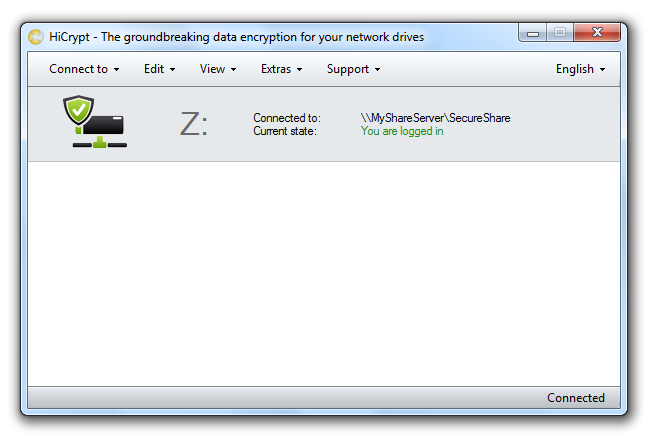
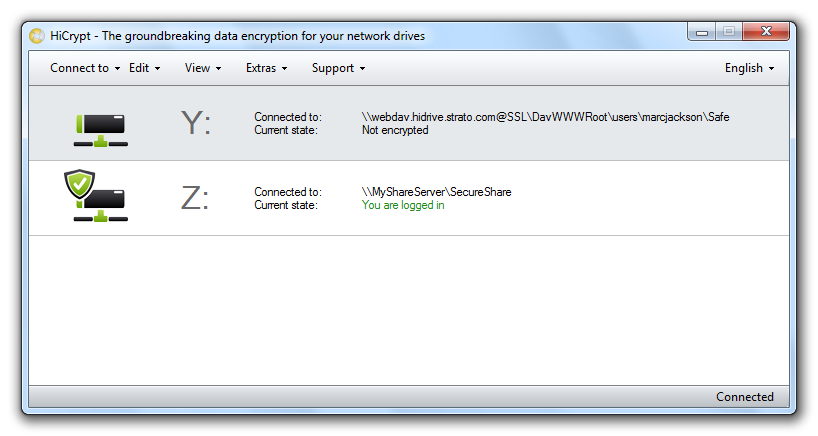
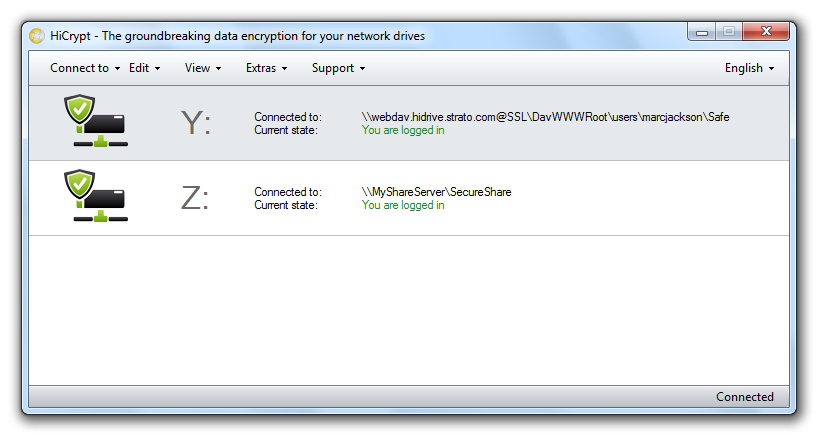
HiCrypt™ 2.0 will show the connected network drive to the online storage in the list of connected network drives.
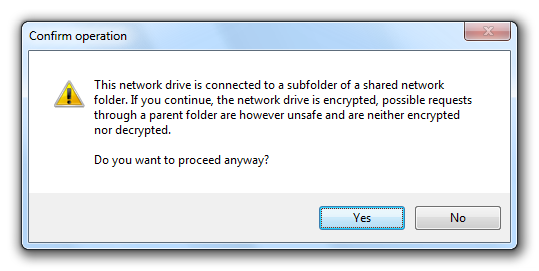
During the encryption you will receive the following warning. This shows that the network drive is connected to a subfolder of the online storage. This was necessary because some of the online storage providers have already placed some data in the online storage so that a complete encryption is not possible.
To encrypt the network drive of the online storage please confirm the warning by clicking “Yes”.
Now you can only access the encrypted online storage with HiCrypt™ 2.0. It is not possible to access your data using the online view of the online storage provider as they can not decrypt the data. In order to access your data you need to connect your online storage to the network drive and log on to it with HiCrypt™ 2.0.
How to use Dropbox and similar services with HiCrypt™ 2.0
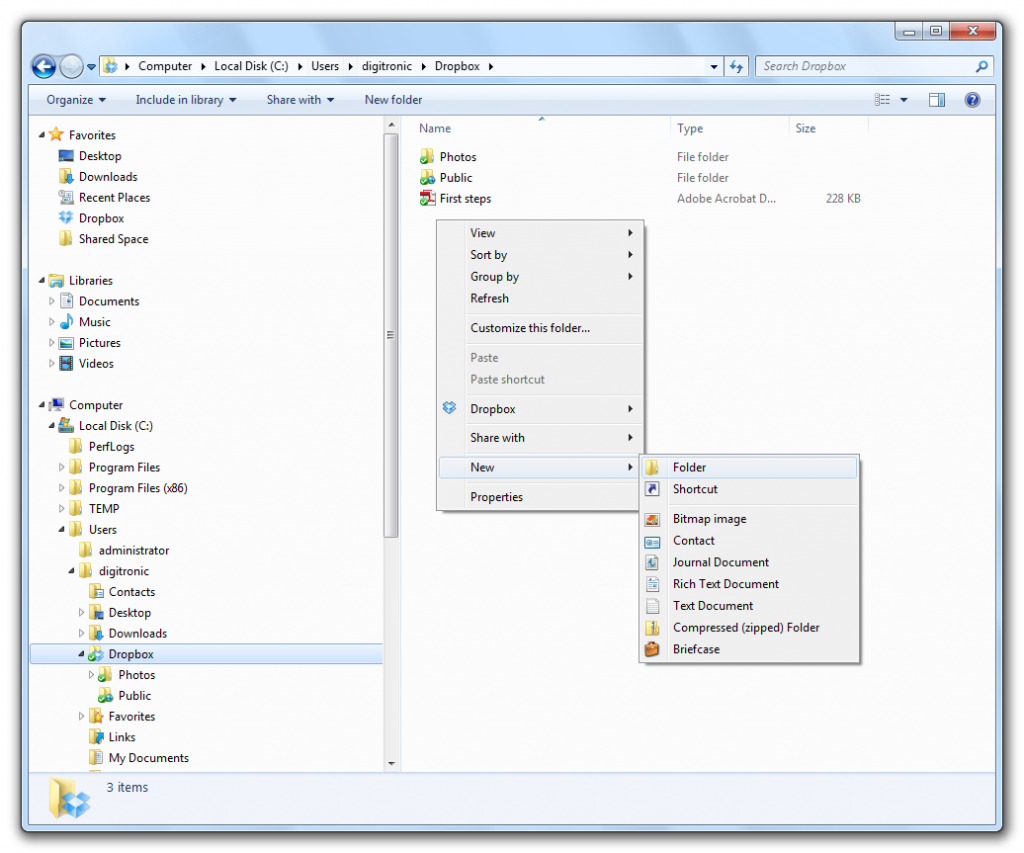
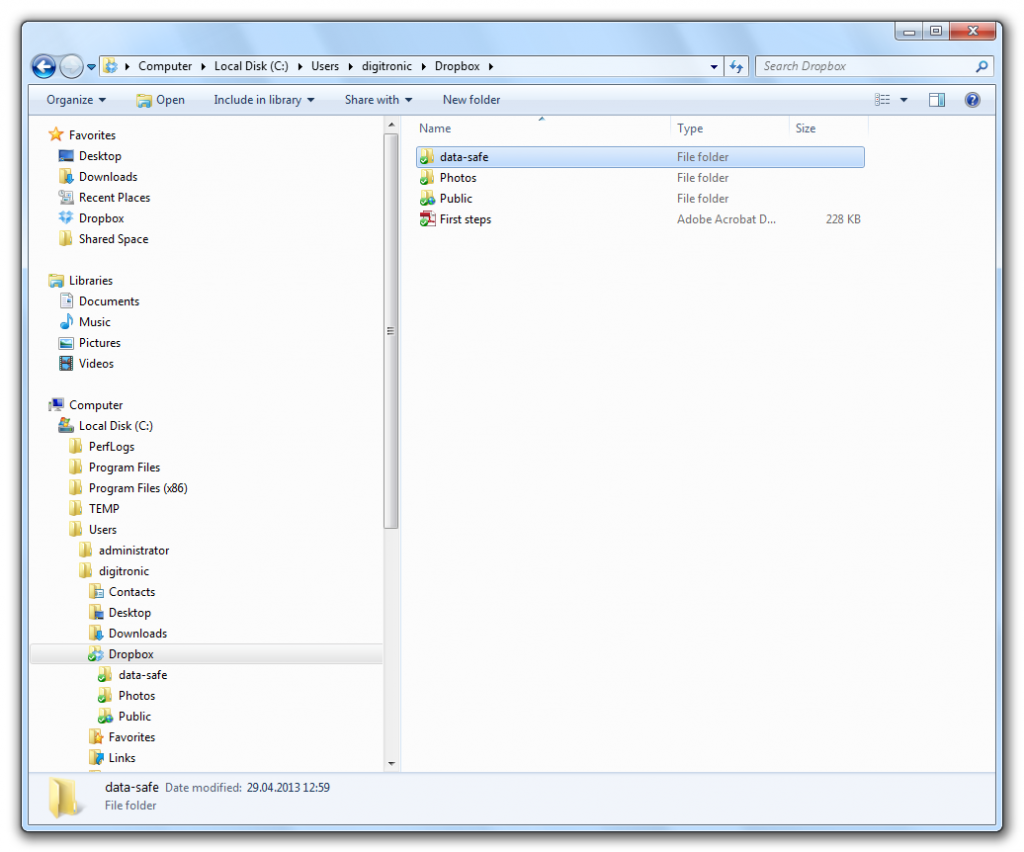
Similar to the use of online storages it is required to connect to a network drive which can be encrypted with HiCrypt™ 2.0. To explain the process we will use Dropbox as an example.
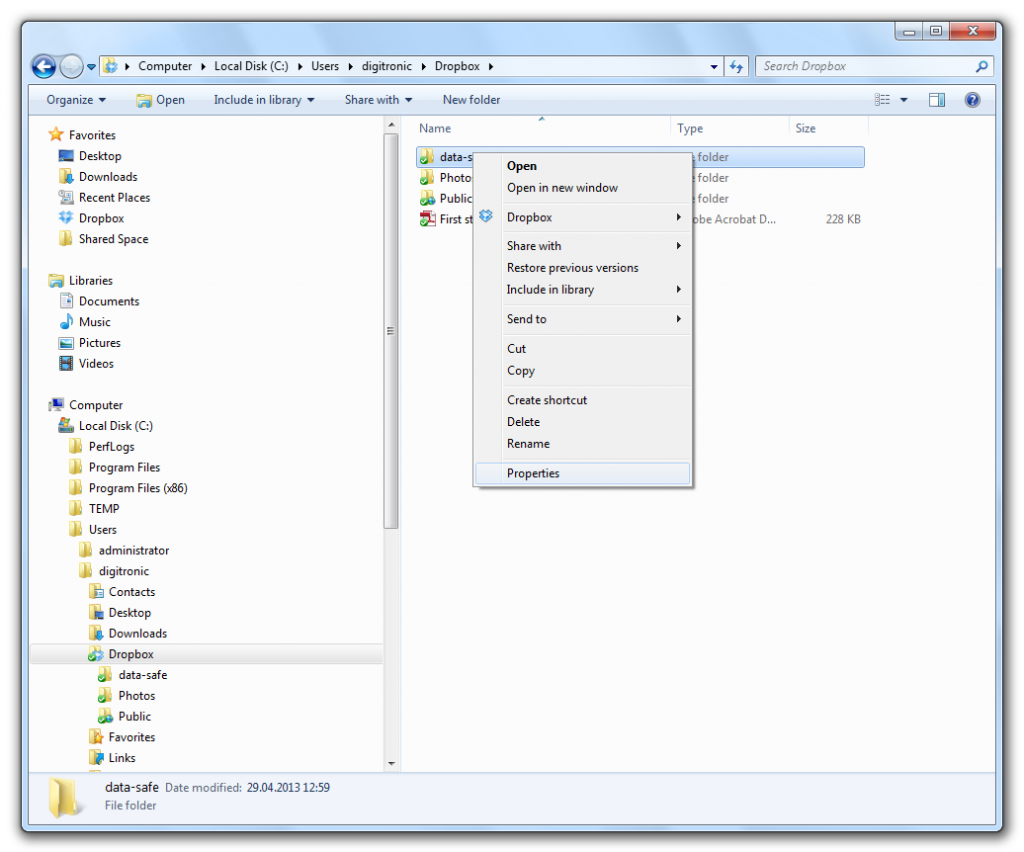
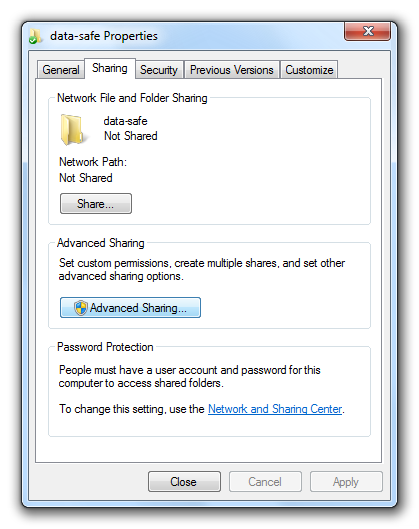
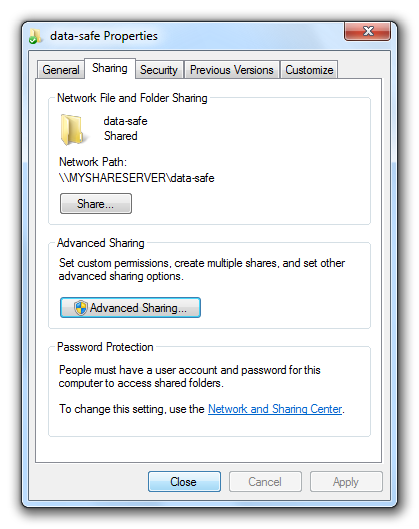
You need to share this folder in order to connect it to a network drive. To do so please display the properties of the folder.
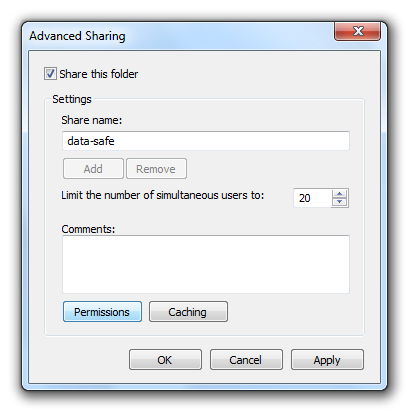
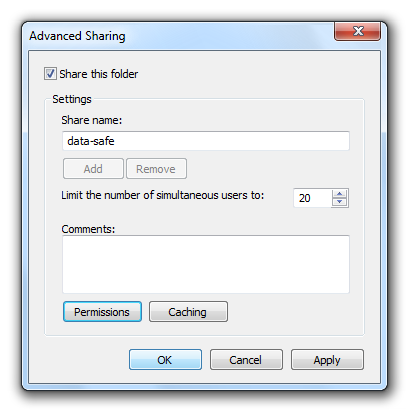
In the opening dialog box activate the option “Share this folder”. Enter a share name of your choice. By default the folder name will be used.
Now you have to change the permissions using the button “Permissions”.
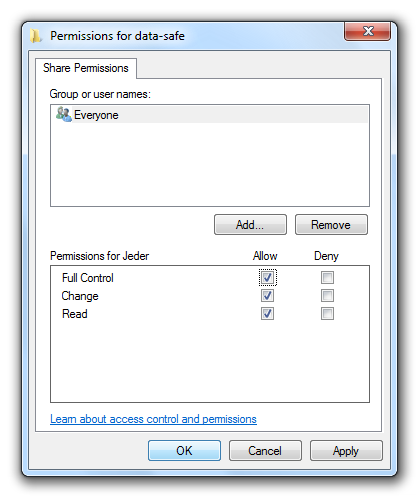
For the encryption HiCrypt™ 2.0 requires full access to the network drive. To make it easy you may grant “Full access” to the group “Everyone”.
Confirm the new permissions with “OK” and close the window.
The shared folder permissions are working independently from the NTFS access rights. If you grant “Full Control” to “Everyone” every user with according NTFS privileges will have “Full Control” to the shared folder while a user with insufficient NTFS privileges is not able to access the share.
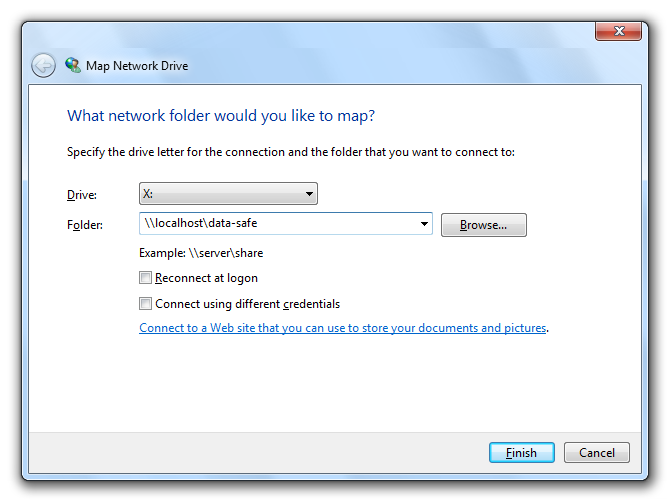
In the configuration settings the folder is the own computer followed by the name of the shared folder.
By clicking “Finish” the network drive will be connected and the dialog will be closed.

